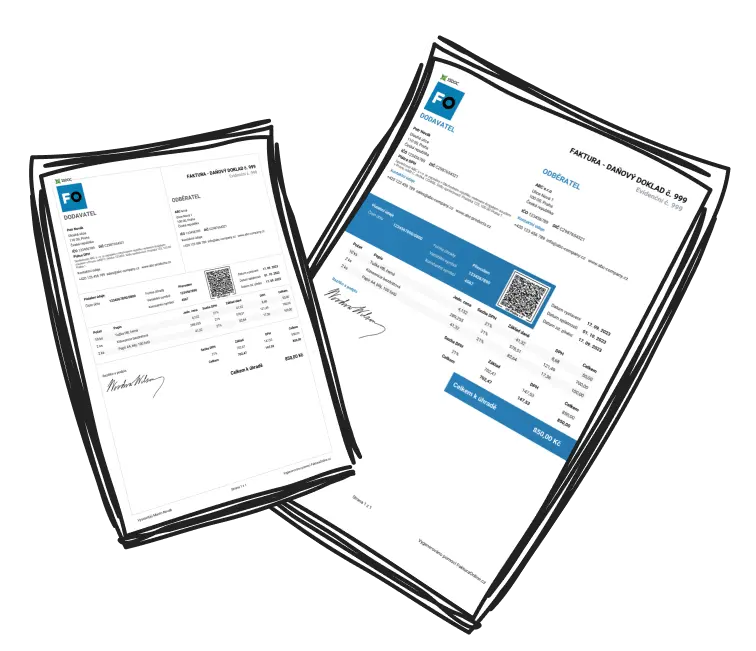
Excel Bill Formatting for Beginners: British Guide

When crafting a bill format in Excel, it involves organising your invoice, integrating essential calculations, and applying clear visuals. Get started with these steps:
Structure your invoice: Start with a well-outlined plan. Key components include a title, your company's details, client info, descriptions of items or services, the total amount, and payment terms.
Set up your header: Utilise the top rows for your company name, logo, and contact details. Merging and centering cells provide a tidy header.
Include a details table: Introduce columns such as "Item Description," "Quantity," "Unit Price," and "Total." Fill these with initial data.
Automate your calculations: Incorporate formulas like
=B2*C2for row totals and=SUM(D2:D10)for the overall total. Make certain these fields update automatically.Apply visual enhancements: Add borders, bold headings, and cell shading to boost readability. Use protection features to avoid accidental changes to formula regions.
Use dummy data: Try out your format with test data to ensure calculations work and the layout is easily navigable.

Tip
Simple yet professional structures ensure that crucial sections such as totals and customer details are prominent for quick inspection.
How Can You Design an Elementary Bill Format in Excel?
Creating a basic invoice layout in Excel is more manageable with a step-by-step mindset:
Create column headers: Establish titles like "Item Name," "Description," "Quantity," "Unit Price," and "Total."
Emphasise headers: Make headers bold and outline them with borders for clarity.
Deploy formulas: Employ formulas such as
=B2*C2to calculate row totals and=SUM(D2:D10)for grand totals.Accent the grand total: Highlight this with larger text or bold styles to draw focus.
Consistent styling: Maintain a uniform typeface and size throughout for a polished appearance.
Save as a reusable template: Once satisfied, save as an Excel template (.xltx) for efficient future use.
Expert Tips for Mastering Excel Bill Formatting
Here are some seasoned tips to enhance your ability to create a compelling bill format in Excel:
Utilise conditional formatting: Distinguish overdue or unpaid bills using colour-coded notifications.
Secure sensitive sections: Use "Protect Sheet" to avoid unintentional modifications to vital formulas and fields.
Explore templates: Beginning with Excel's built-in invoice templates or your designs can save substantial time.
Maintain alignment: Regularise column widths and ensure alignment for a neat outlook.
Incorporate brand elements: Integrate your logo, company name, and colours for enhanced professionalism.
Verify for precision: Thoroughly review all content to assure accuracy.
Excel's conditional formatting helps swiftly highlight payment delays or incorrect inputs, saving time and reducing errors.
How Should Novices Tackle Excel Bill Formatting?
For beginners, commence by focusing on practicality when arranging an Excel bill format, keeping it straightforward to avoid unnecessary complexity. Start by setting up a blank spreadsheet, outlining columns for "Date," "Description," "Quantity," "Unit Price," and "Total." Leverage Excel’s tools like "Merge & Center" for the header, and use basic formulas for calculations. Verify the design with example data. Essential tip: don’t forget frequent saves to protect your effort!

Regularly saving your progress shields you from potential data loss caused by unforeseen events.
Essential Steps for Bill Formatting in Excel
Completing and designing an Excel bill involves a balance between utility and aesthetics. Follow these steps for optimal results:
Consistent fonts: Select clear fonts and keep sizes uniform for comprehensive readability.
Insert section dividers: Use borders to separate different fields like client details and item lists clearly.
Highlight totals: Make grand totals noticeable with thicker borders, larger fonts, or varied colours.
Format numerical content: Apply suitable formats for dates and currencies that cater to your audience, like pounds sterling for the UK.
Evaluate print output: Test print a draft to check spacing, alignment, and margins for a refined result.
Store as a template: Save your formatted bill as a template for efficient future invoice creation.
Utilising bold, centred headings enhances readability and imparts a professional appearance to your invoice.